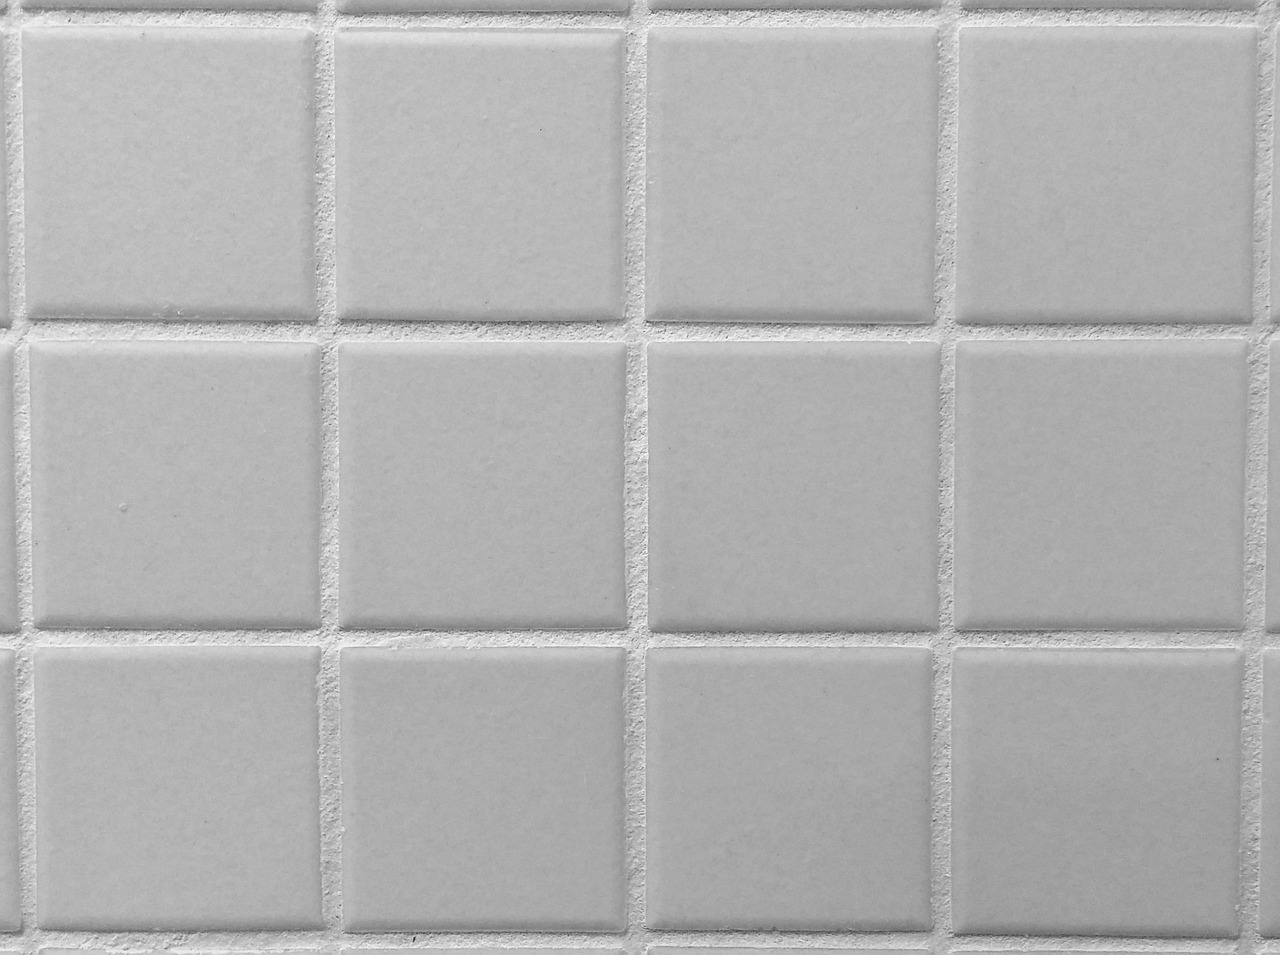
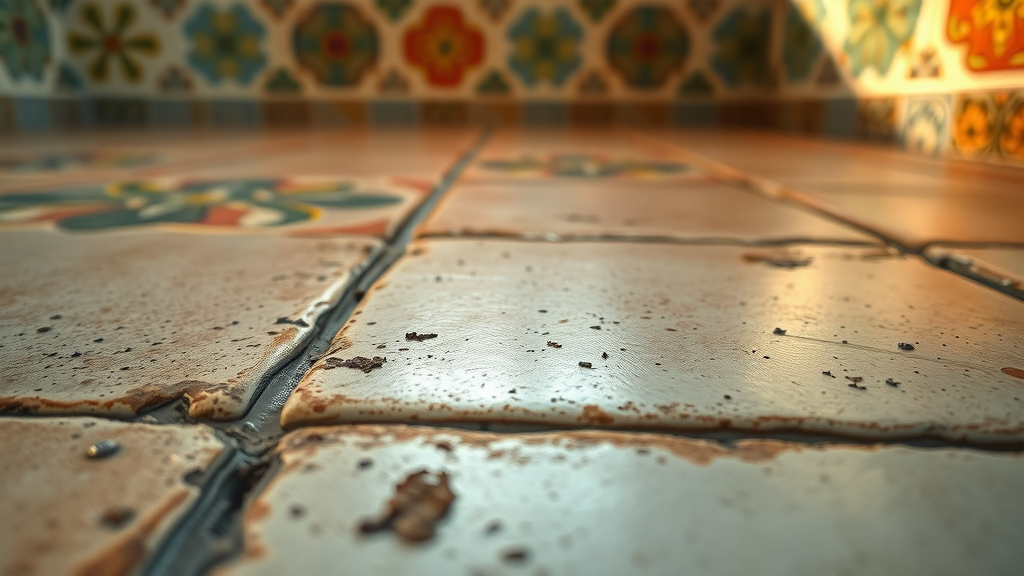
Grout is a cement-based item blended with chemicals, water, and oftentimes sand. Some cement based grouts are particularly porous. Porous grouts attract water, dirt, oils, etc. While the tile industry does not always recommend sealing, it is always suggested, specifically in damp or high-traffic areas.
Penetrating sealants are the most typically used and offer high water, chemical and stain resistance. They offer security without changing the look of the grout joint. They can also be utilized as a pre-grouting sealant to assist in cleaning grout from the surface of the tile during installation.
Two types sealers are available on the marketplace:
- Water-based sealant, and
- Solvent-based sealer.

Even with new innovation, for grouts marketed as "sealing not required," a sealer can still be used for additional protection.
There is much argument over whether or not to seal grout. The questions you should ask when making this decision is: where will it be applied, what is the designated result and do you want your grout to clean up easily? If you plan to use a sealer, here is our suggestion for applying them.
Step 1: Make sure the grout is dry.
All new grout needs to be enabled to cure fully before being sealed. Even if the grout seems hard, achieving the correct color will require time for excess moisture to vaporize. We understand you've been looking forward to seeing your finished product, however don't get ahead of yourself! We advise waiting for a minimum of 48 hours after setting up a grout before you use a sealant.

Older grout needs to be cleaned thoroughly prior to being left to dry. Make certain to safeguard grout from spills and discolorations during this time, otherwise you'll be sealing in the dirt rather than keeping it out!
Step 2: Apply the sealer.
Coat sealer on the grout lines with a foam sponge, brush or small roller. However you choose to use the sealant, it is essential that the grout joints are covered consistently and completely.
Step 3: Wait 10 minutes.
Let the sealer sit for about 10 minutes, and then rub out any excess sealer with a damp towel. Sealants can leave a residue on the tile surface area, however do not worry-- it ought to be simple to eliminate at this point.
Step 4: Test with water.
Check the effectiveness of the sealant by putting a couple of drops of water onto the grout line (after the sealant has dried thoroughly according to the label directions).

Did the water bead up? If so, you're good to go: Your grout has been appropriately sealed and is ready for action.
Step 5: Reapply if needed.
Did your grout sealant fail the water-drop test? If the water lays flat and does not bead, rub out the water, wait 30 minutes and use a second coat. Think of it by doing this: Better to test and try once again than to recognize in simply a few days that your grout sealant isn't working as intended!
To maintain pristine-looking grout, remember to get rid of spills immediately, change mop water regularly and clean grout joints frequently. Sealed grout can keep discolorations from developing and make cleaning easier, but routine cleaning is still a need to keep your grout looking its absolute best. You've come too far to let unclean grout lines affect the appearance of your tile!
Keep in mind that all sealants will ultimately wear away or lose their efficiency.
We suggest using brand-new sealant once a year or whenever you observe that water is no longer beading up. By following these actions, your tile and grout will look like they did the day they were installed.

 Add
Add 
 Add Row


Write A Comment